Guide - How to create a self-guided digital trail for a nature site
Many trails already have numbered posts, a leaflet and people who know every bend of the path. This guide covers how to turn that into a trail visitors follow on their own phone, with stories that fit the season, audio at each stop and content your team can change in an afternoon.
Start with the trail you already have
Before choosing any technology, gather what exists: the posts on the ground, the leaflet or guidebook text, maps, old recordings and the things staff and volunteers say when they lead a walk. Most of a good digital trail is already written somewhere.
Walk the route and pick the stops. Five to ten is a comfortable number for a walk of an hour or so. Choose places where something is visible from where people stand, where it is safe to pause, and where the stops fall in walking order.
QR codes, NFC tags or both
Each post needs a way to open its stop on a phone. Both common options open a web page, so visitors do not need to install anything.
- QR codes work with any phone camera, are cheap to print and are easy to spot. They need enough light and a steady hand, and they wear on exposed posts.
- NFC tags open the stop when a phone touches the post. They work in low light and can sit behind a small plaque. Some visitors will not know to tap, so pair the tag with a short instruction.
- A short printed web address on the post is a useful fallback for both.
Many trails use a QR code for clarity and an NFC tag for convenience on the same plaque.
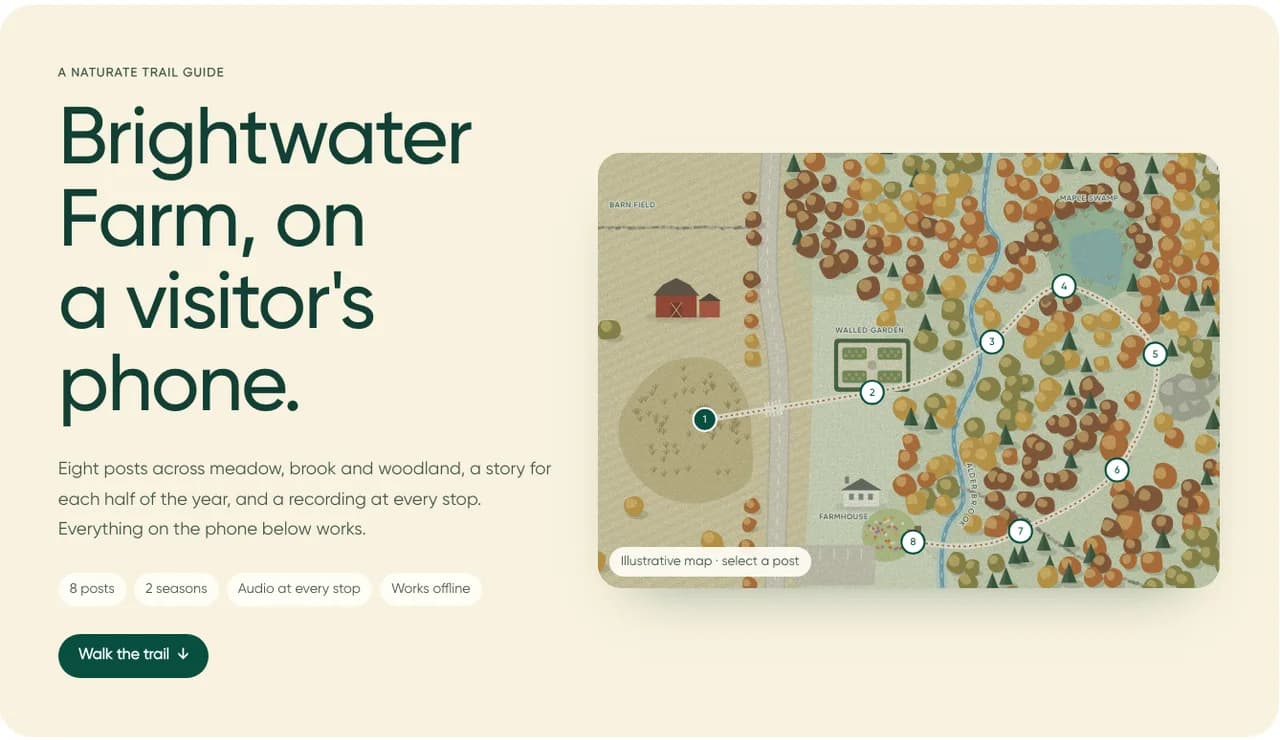
A web page, not an app download
Asking someone to download an app at a trailhead, often on a weak signal, loses most people before the first stop. A guide that opens in the browser starts instantly from a code or a tap.
A browser guide can still save the whole trail to the phone on first visit, so maps, text and audio keep working where the signal drops in a valley or under trees.
Write for the spot people are standing in
Give each stop a short title, two or three sentences and one concrete thing to look for. Point at what is in front of the visitor: the tree with peeling bark, the wall running into the woods, the red berries by the boardwalk.
Keep facts specific and checkable, and leave out anything you cannot confirm for your own site.
Let the story change with the season
The same post can tell a spring and summer story and a fall and winter one, or one for each season. The guide can choose the version by date while still letting visitors switch.
Seasonal stories give regular visitors a reason to come back and keep the trail accurate when the meadow is mown or the brook runs dry.
Add audio at each stop
A recording lets visitors keep their eyes on the place rather than on a screen. Keep each one short, offer the written text alongside it, and record a version for each season.
Keep it current without reprinting
Give every post a stable address that never changes, and put the content behind it rather than in the code. Your team can then edit a stop, swap a recording or add a safety note from any computer, and the post keeps working.
This also lets you retire a stop for a season, for example while a boardwalk is repaired, without touching the post.
Make it work for everyone
- Large, high-contrast text that scales with the phone’s settings.
- A written version of every recording.
- Clear information about distance, surfaces and step-free sections before people set out.
- A short line of essential information on the physical post for people without a phone.
Measure what visitors use
Simple counts tell you a lot: how many people open each stop, how many press play and where they stop following the trail. Use that to improve the stops people skip, and keep analytics light so visitors are not tracked more than the question needs.
What a first version looks like
A sensible first step is one trail, built from your existing content, with codes or tags on the posts you already have, two seasons of stories and audio at each stop. Test it with volunteers and a few regular visitors, then decide what to add next: an accessible loop, a second trail or a book of walks.